Back to Blog
Common Challenges When Removing Carpet and How to Overcome Them
Learn about the common challenges faced when removing carpet, such as damaged subfloors, stubborn staples, and adhesive residue, and how to tackle them effectively.
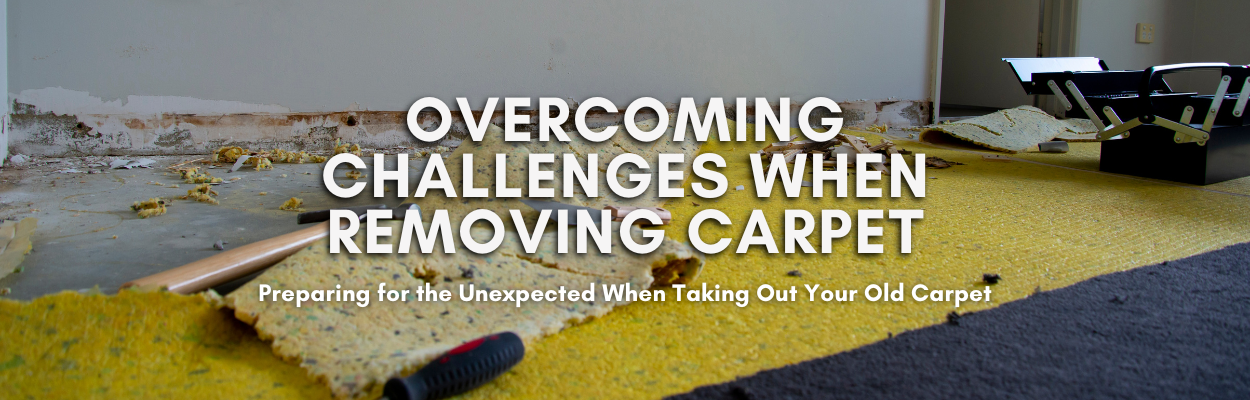
Removing old carpet can be a rewarding project that transforms the look of your home, but it’s not without its challenges. From damaged subfloors to stubborn staples and sticky adhesive residue, several issues can arise during the process. Being aware of these potential challenges and knowing how to address them will help ensure a smoother carpet removal experience. In this article, we’ll discuss the common problems you might encounter when removing carpet and provide tips on how to overcome them.
1. Damaged Subfloors
One of the most significant challenges you may face when removing carpet is discovering damage to the subfloor beneath. Over time, moisture, wear, and tear can cause the subfloor to become warped, rotten, or uneven.
-
Identifying Damage: As you peel back the carpet, inspect the subfloor for signs of water damage, mold, or rot. Pay close attention to areas near windows, doors, and bathrooms where water exposure is more likely.
-
Repairing Subfloor Damage: If you find damaged areas, you may need to replace sections of the subfloor before installing new flooring. This could involve cutting out the damaged wood and replacing it with new plywood or OSB (oriented strand board). Ensuring the subfloor is level and in good condition is crucial for the successful installation of new flooring.
-
Leveling the Subfloor: In some cases, the subfloor may be uneven due to settling or previous installations. Use a leveling compound to smooth out any dips or high spots, creating a flat, stable surface for your new flooring.
2. Removing Stubborn Staples
Carpets are often secured to the subfloor with hundreds of staples, which can be difficult and time-consuming to remove. Leaving staples behind can cause problems when installing new flooring, so it’s important to remove them thoroughly.
-
Using the Right Tools: A staple remover, pliers, or a flathead screwdriver can be effective tools for pulling out staples. Start by prying up the staple with the tool, then use pliers to pull it out completely. Be patient and work systematically to ensure all staples are removed.
-
Dealing with Broken Staples: Sometimes, staples can break off, leaving a portion embedded in the subfloor. In these cases, use needle-nose pliers to extract the remaining piece. If the staple is too difficult to remove, you may be able to hammer it flush with the subfloor so it doesn’t interfere with the new flooring.
-
Taking Your Time: Removing staples can be a tedious process, but taking the time to do it properly will prevent issues with your new flooring installation, such as uneven surfaces or damaged materials.
3. Tackling Adhesive Residue
If your carpet was glued down, you might encounter sticky adhesive residue left on the subfloor. This residue can make it difficult to install new flooring and may need to be removed.
-
Softening the Adhesive: To make adhesive easier to remove, start by softening it with a heat gun or a solution of warm water and dish soap. Apply the heat or solution to a small area, then scrape off the softened adhesive with a putty knife or floor scraper.
-
Using Chemical Adhesive Removers: For more stubborn adhesives, you may need to use a chemical adhesive remover. Apply the remover according to the manufacturer’s instructions, allowing it to sit for the recommended time before scraping off the softened adhesive. Be sure to ventilate the area and wear protective gear when using chemical removers.
-
Sanding the Subfloor: After removing the bulk of the adhesive, you may need to sand the subfloor to remove any remaining residue and smooth the surface. Use a floor sander with a medium-grit sandpaper, and work carefully to avoid damaging the subfloor.
4. Disposing of Old Carpet and Padding
Once you’ve successfully removed the carpet and padding, you’ll need to dispose of it properly. Carpet and padding can be bulky and heavy, making disposal a challenge.
-
Cutting the Carpet into Manageable Pieces: To make the carpet easier to handle, cut it into smaller sections using a utility knife. Roll up each section and secure it with tape before carrying it out of the house.
-
Checking Local Disposal Regulations: Carpet disposal regulations vary by location, so check with your local waste management facility to find out how to properly dispose of old carpet and padding. Some areas may require you to take it to a specific recycling center, while others may allow you to include it with your regular trash pickup.
-
Recycling Options: If possible, consider recycling your old carpet and padding. Many recycling centers accept carpet materials, which can be repurposed for new products or used in other applications. Recycling is an eco-friendly option that helps reduce waste and conserve resources.
Final Thoughts: Preparing for a Successful Carpet Removal
Removing carpet can be a challenging but rewarding project. By being aware of potential issues like damaged subfloors, stubborn staples, and adhesive residue, you can better prepare for the task and ensure a successful outcome. Taking the time to address these challenges properly will set the stage for a smooth installation of your new flooring.
For homeowners in Cobb, Fulton, Forsyth, and Cherokee counties who need assistance with carpet removal or new flooring installation, our team is here to help. We offer professional services to make your flooring project as easy and stress-free as possible. Contact us today to learn more about how we can assist with your home improvement needs.
Back to Blog