Back to Blog
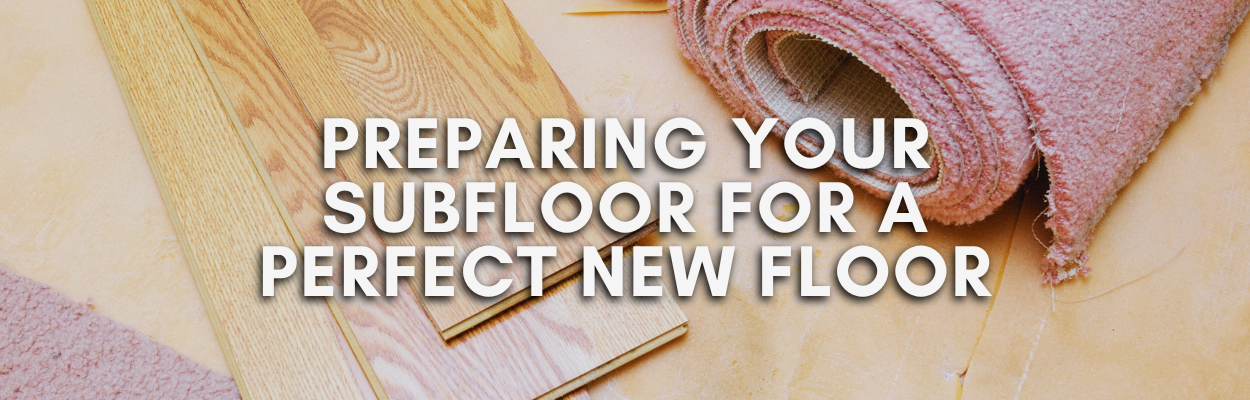
Getting Your Subfloor Ready for New Flooring After Carpet Removal
Learn how to properly prepare your subfloor for new flooring installation, ensuring it is clean, level, and free of imperfections after removing old carpet.
After removing old carpet, preparing your subfloor for new flooring is a crucial step to ensure a smooth and successful installation. A properly prepared subfloor will provide a solid foundation for your new flooring, helping to prevent issues like uneven surfaces, squeaks, or premature wear. In this article, we’ll provide tips on how to prepare your subfloor to be clean, level, and free of imperfections, ready for your new flooring.
1. Cleaning the Subfloor Thoroughly
The first step in preparing your subfloor is to clean it thoroughly. After carpet removal, you may find dust, dirt, and debris left behind, which can interfere with the adhesion and installation of new flooring.
-
Sweeping and Vacuuming: Begin by sweeping the subfloor to remove loose dirt and debris. Follow up with a thorough vacuuming to ensure all fine particles are removed. Pay special attention to corners and edges where debris tends to accumulate.
-
Removing Adhesive Residue: If the carpet was glued down, you may find adhesive residue on the subfloor. Use a scraper to remove as much of the adhesive as possible. For stubborn residue, apply a commercial adhesive remover or a mixture of warm water and soap to soften it, then scrape it off.
-
Checking for Mold and Mildew: Inspect the subfloor for any signs of mold or mildew, particularly if the carpet was exposed to moisture. If you find any, treat the affected areas with a mold-killing solution and allow the subfloor to dry completely before proceeding.
2. Inspecting and Repairing the Subfloor
Once the subfloor is clean, it’s important to inspect it for any damage or imperfections that could affect the new flooring installation.
-
Checking for Damage: Look for signs of water damage, rot, or warping, especially in areas near windows, doors, and bathrooms. If you find any damaged sections, they will need to be repaired or replaced before installing the new flooring.
-
Securing Loose Boards: Walk across the subfloor and listen for any squeaks or creaks, which could indicate loose boards. Secure any loose boards with screws or nails to eliminate noise and ensure a stable foundation for your new flooring.
-
Filling Gaps and Cracks: Use a wood filler or leveling compound to fill in any gaps, cracks, or holes in the subfloor. Smooth the filler with a putty knife and allow it to dry completely before sanding it down to create a level surface.
3. Leveling the Subfloor
A level subfloor is essential for a successful flooring installation, particularly when installing hard surfaces like hardwood, tile, or laminate.
-
Identifying Uneven Areas: Use a long level or straightedge to check the subfloor for any uneven areas. Mark any high or low spots that need to be addressed.
-
Sanding High Spots: If you find high spots on the subfloor, sand them down using a floor sander or belt sander until they are level with the surrounding area. Be careful not to sand too much, as this can weaken the subfloor.
-
Filling Low Spots: For low spots, apply a self-leveling compound according to the manufacturer’s instructions. Spread the compound evenly across the low area and allow it to dry completely. Once dry, sand the area lightly to ensure a smooth transition with the rest of the subfloor.
4. Installing an Underlayment
Depending on the type of flooring you plan to install, adding an underlayment may be necessary to provide additional support, insulation, and soundproofing.
-
Choosing the Right Underlayment: Select an underlayment that is appropriate for your flooring type. For example, foam or cork underlays are common choices for laminate or engineered wood, while a cement board or membrane underlay may be needed for tile installations.
-
Installing the Underlayment: Follow the manufacturer’s instructions to install the underlayment, ensuring it is laid flat and securely fastened to the subfloor. Overlap seams as recommended, and trim excess material around the edges to fit the room.
Final Thoughts: Preparing Your Subfloor for a Flawless Installation
Taking the time to properly prepare your subfloor after carpet removal is essential for a successful flooring installation. By ensuring the subfloor is clean, level, and free of imperfections, you can create a solid foundation that will support your new flooring and prevent future issues.
For homeowners in Cobb, Fulton, Forsyth, and Cherokee counties looking for professional assistance with flooring installation, our team is here to help. We offer expert subfloor preparation and flooring installation services to ensure your project is completed to the highest standard. Contact us today to learn more about how we can help you achieve a flawless finish.
Back to Blog